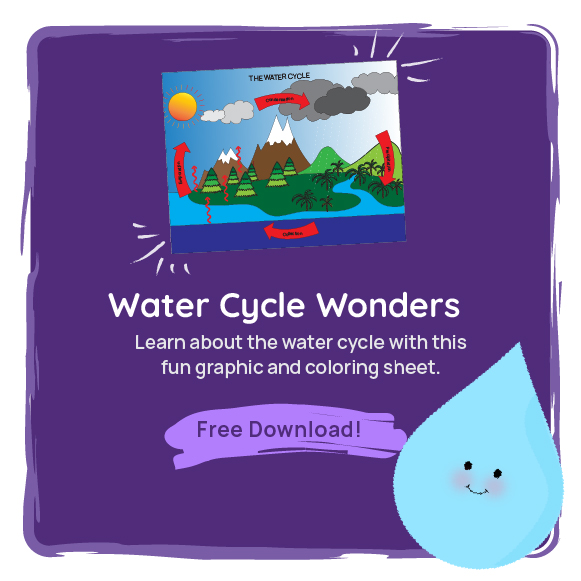
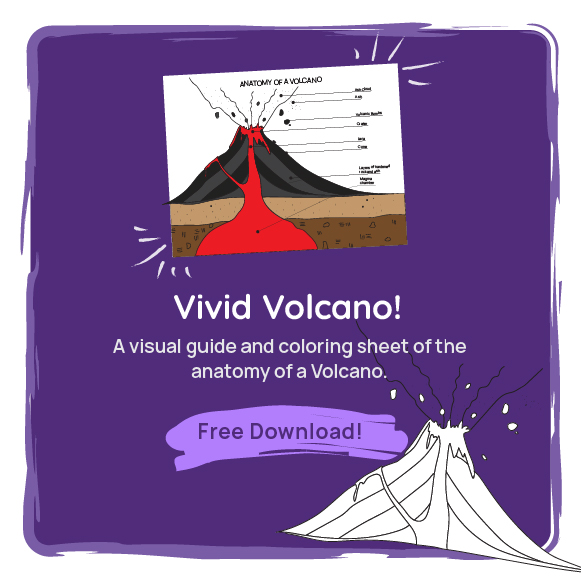
The blooming flowers, the green grass, the warm weather—spring is here! And Earth Day is coming up on April 22! On this special day, even the littlest kids can take part in celebrating everything the Earth gives us and thinking about what we can do to keep it beautiful for the years to come. You can also celebrate our planet Earth every day! We've put together four fun activities that will help you and your children celebrate with art! Don't miss the two free downloads!
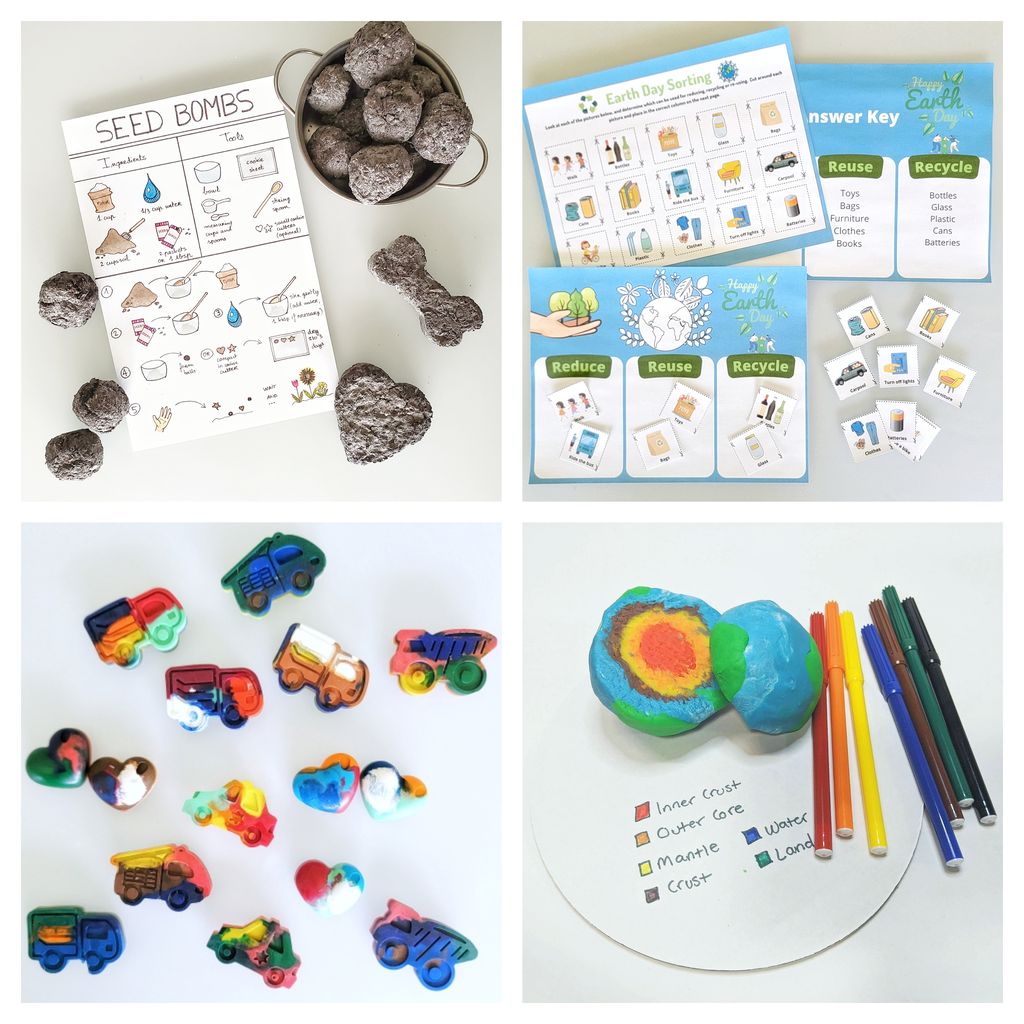
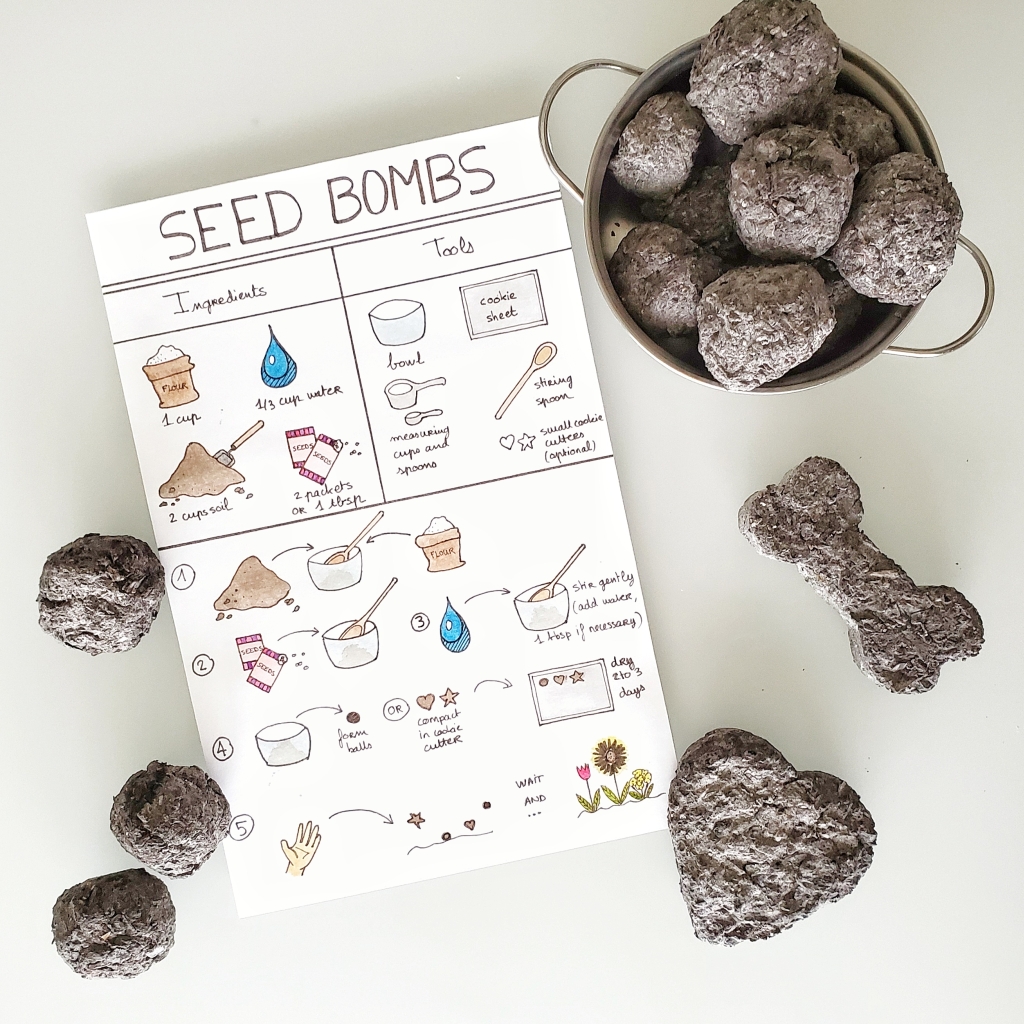
Every day is Earth Day when you plant a garden! Use this free "seed bombs" visual recipe to start your own beautiful space outside. Plant veggies or flowers—children will love watching them grow and bloom!
This visual recipe is perfect for toddlers and young preschoolers. They'll practice ordering, measuring, and fractions. You only need four ingredients and a few basic kitchen supplies to make this recipe work. No oven required!

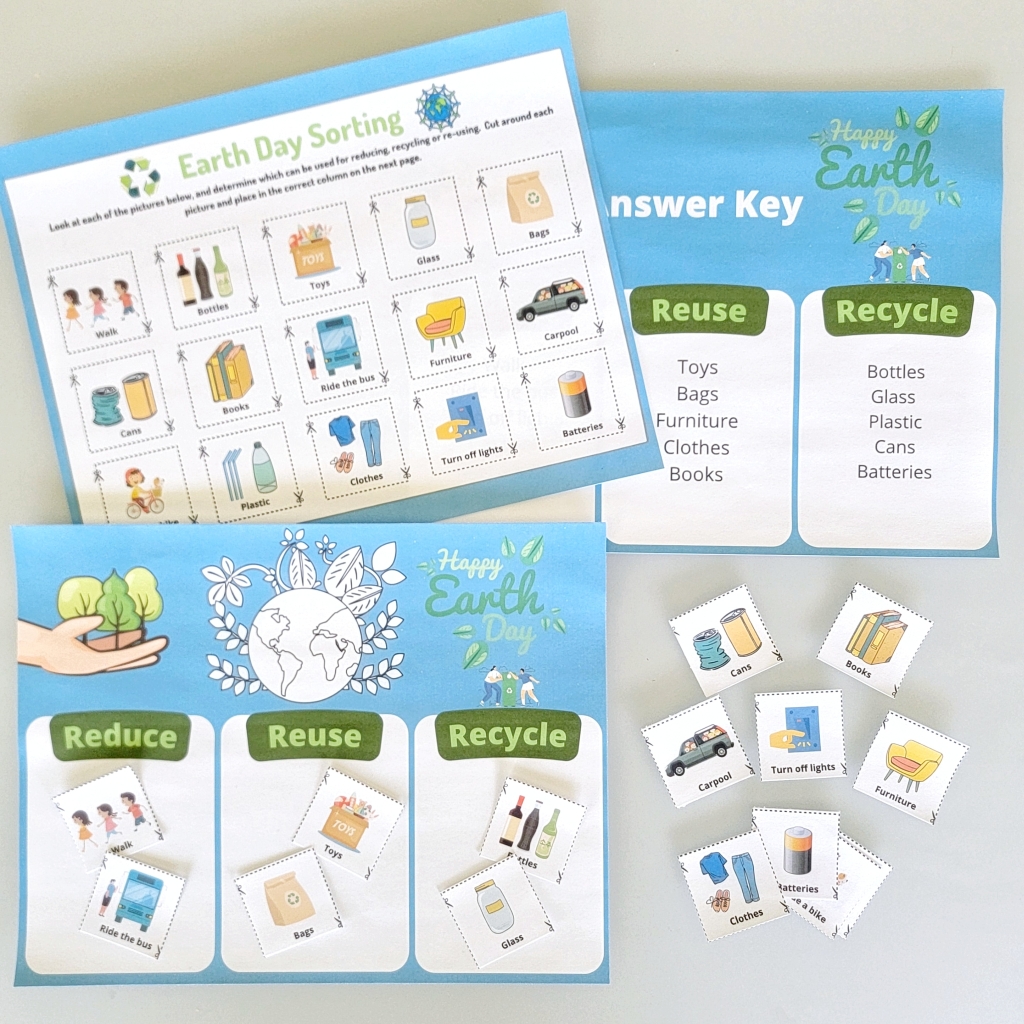
Introduce your children to the concepts of reduce, reuse, and recycle with this fun sorting activity. Download the free PDF and you'll see 15 different ways we can be kind to the Earth. Cut the cards apart and children can sort them into the three R-categories. (Be sure to laminate both papers to make them last longer.)
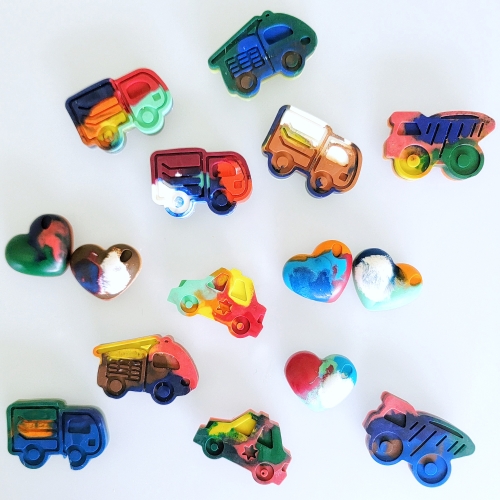
Turn something old into something new! This art project takes old, broken crayons and turns them into new, rainbow-colored crayons.
(An adult should supervise this project at all times. The melted crayons will be hot!)
Here's what you'll need:
- Crayons
- Cookie sheet
- Muffin tray or silicone mold or steel cookie cutters
- Non-stick spray (optional)
- Parchment paper (optional)
Here's the process:
- Turn on your oven to 275°F.
- If your crayons still have the paper wrapper on them, tear it off.
- Break the crayons into very small pieces.
- Fill your mold!
- If you're using a silicone mold, simply fill each spot with pieces of crayon.
- If you're using a muffin tray, spray it with non-stick spray. Then, fill each spot with pieces of crayon.
- If you're using a cookie sheet with cookie cutters, start by lining the sheet with parchment paper. Spray the cookie cutters with non-stick spray. Then, fill each cookie cutter with pieces of crayon.
- Place the mold on a cookie sheet and then, place everything in the oven for 6 to 10 minutes.
- When the crayon pieces are completely melted, pull them out of the oven. Allow them to cool completely.
- When the crayons are cool, tap them out of the mold or pan.
- The crayons are ready to use!
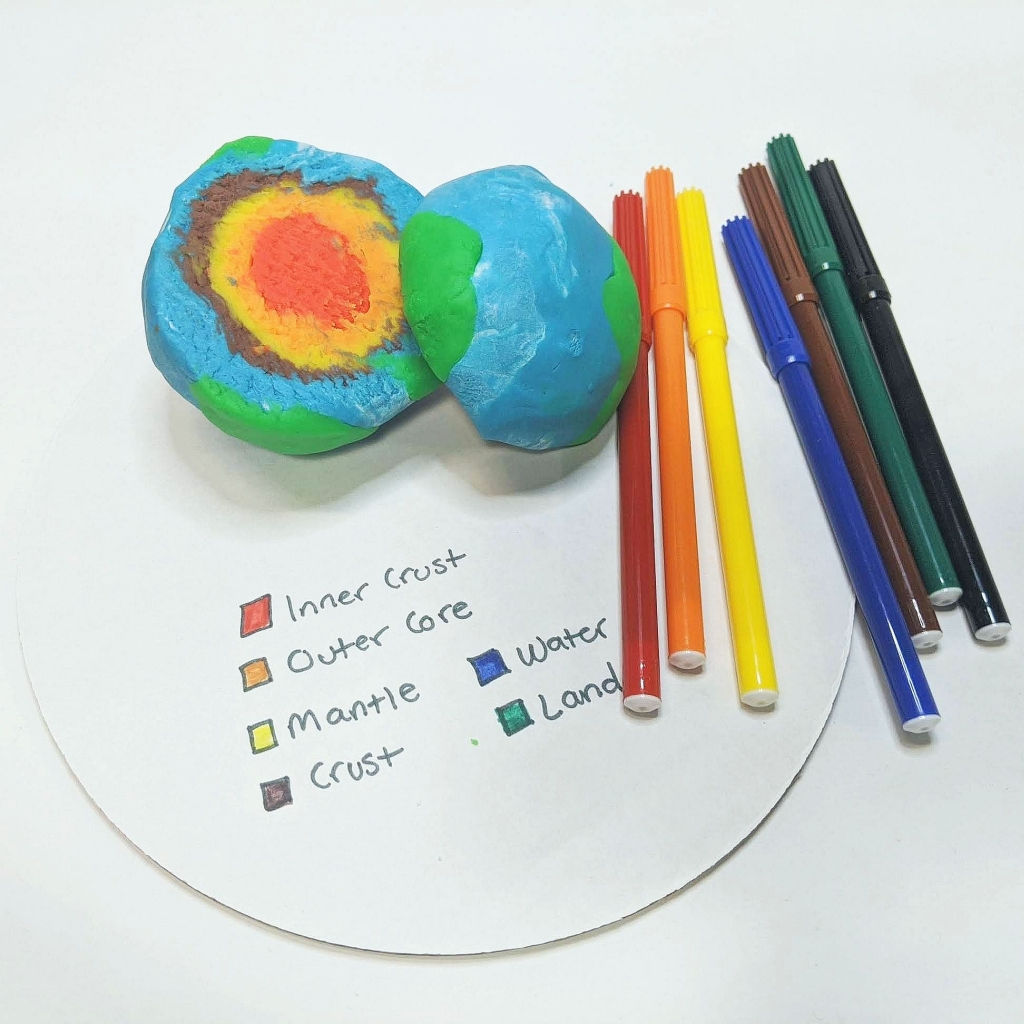
Use this super-simple model to teach your children about the four layers of the Earth. It's a great hands-on activity and kids will love all of the colors!
Here's what you'll need:
- Play-dough (We recommend using red, orange, yellow, brown, blue, and green.)
- A knife (for adult use only!)
Here's the process:
- Roll each color of playdough or clay into a round ball. Because we're going to be making layers, you'll want to have each ball increase in size. So, the ball you'll use first should be the smallest ball. The next color should be a bit bigger. Keep going until you get to the last ball. That one will be the biggest.This is the color order we recommend:
- Innermost ball: red for the inner core
- Second ball: orange for the outer core
- Third ball: yellow for the mantle
- Fourth ball: brown for the crust
- Outermost ball: blue for the ocean
- Now you can form the layers! Begin by pressing your second ball (orange) into a flat circle. Place the innermost ball (red) on top and wrap it up. Pinch and shape it so it keeps an even, round shape.
- Now, flatten your third ball (yellow) into a flat circle. Place the "Earth" onto it and wrap it up. Again, shape it so it stays round.
- Repeat the process with the fourth and final layers (brown and blue).
- Use the green to put spots of land on top of the blue layer.
- Now that your Earth is all assembled, an adult can take a sharp knife and cut straight through the center of it. All the layers are revealed!