Celebrate Mother's Day with one-of-a-kind crafts that even the youngest kids can help make! There are a lot of flowers as well as personalized keychains and butterflies!

Celebrate Mother's Day with these easy and meaningful arts and crafts ideas!
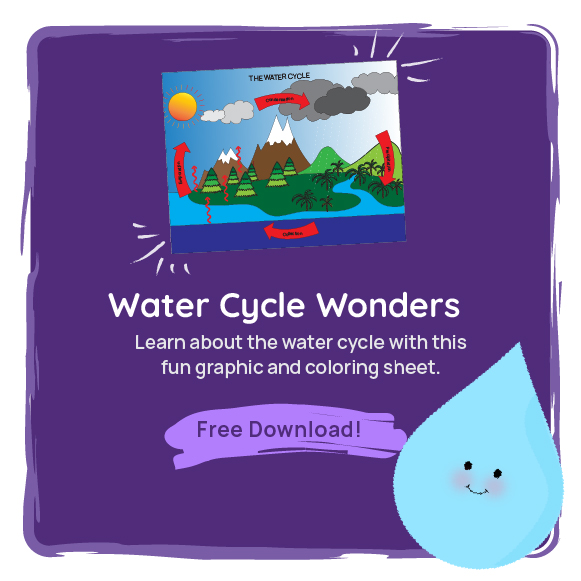
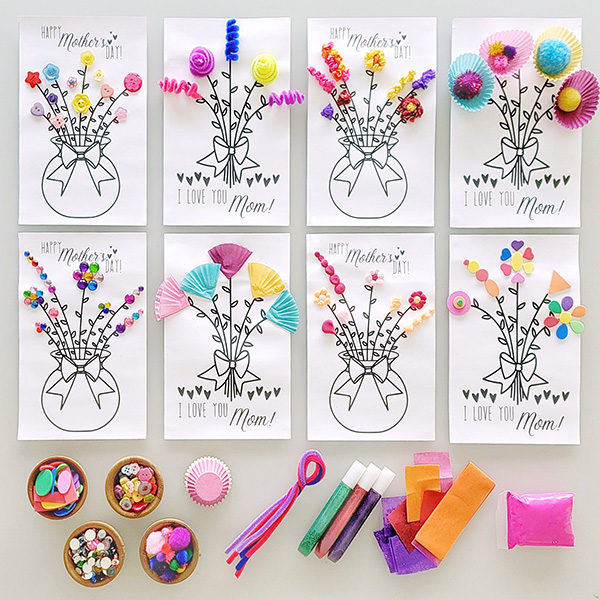
This year, surprise Mom with a one-of-a-kind handmade card on Mother’s Day. This mother's day DIY card is so easy to make that even toddlers and preschoolers can make their own!
First, download the card, then print it on cardstock. Once printed, fold it in half along the centerline and give your child some glue and little loose parts that they can glue on. We used: buttons, pompoms, pipe cleaners, mini cupcake liners, gems, sequins, foam shapes, air-dry clay, and tissue paper. But you can use anything you already have in your house (or any leftovers from your boxes!)
The best way to do it is to offer your child what you have and let them create freely!
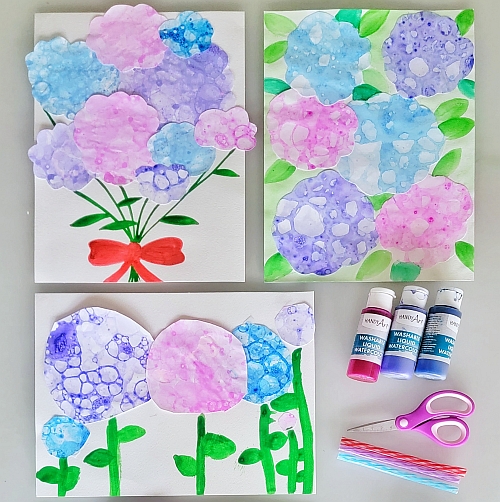
Be ready for some bubbly fun!
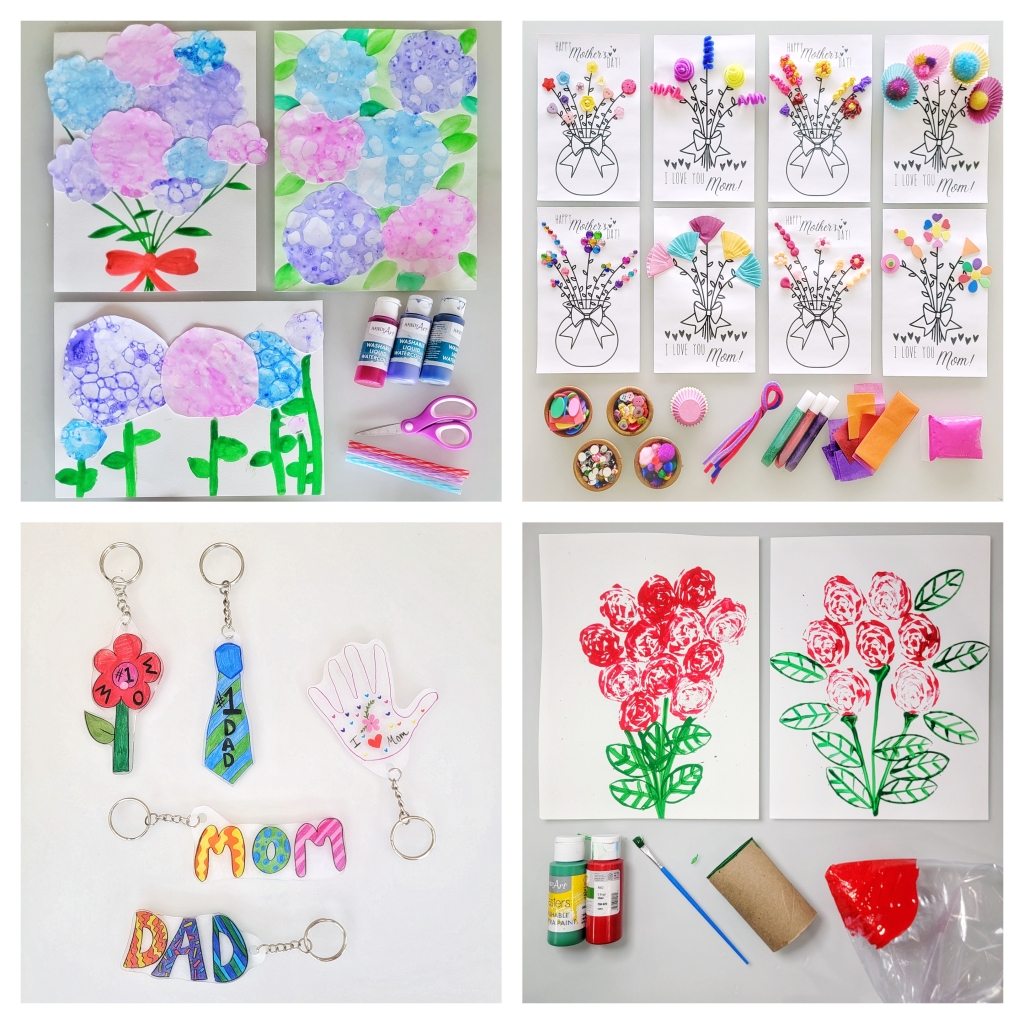
Here is what you need: white cardstock, one bowl per color used, bubble mix or dish soap, paint (we used liquid watercolor but tempera should work too), cups or bowls with ½ cup water, straws, scissors, glue, watercolor paint, paintbrush, and small jar with water.
Here are the steps:
- Add ½ cup of water to each bowl. Mix a generous amount of bubble or dish soap into each and then add paint. Stir with the straws.
- Blow through the straw to make bubbles until they overflow the bowl! Important: make sure your little one does not swallow the bubbles mix. If you think they might, use a bubble wand instead so they can blow bubbles.
- Take one of your sheets of cardstock and lay it on top slowly and gently until the bubbles are printed into the paper. Repeat until you have many prints then let dry.
- Once dry, cut out your bubble prints to make flowers and glue them onto another sheet of cardstock.
- Decorate! With the watercolor paint, add leaves, stems, a bow, a vase, or anything else you can think of!
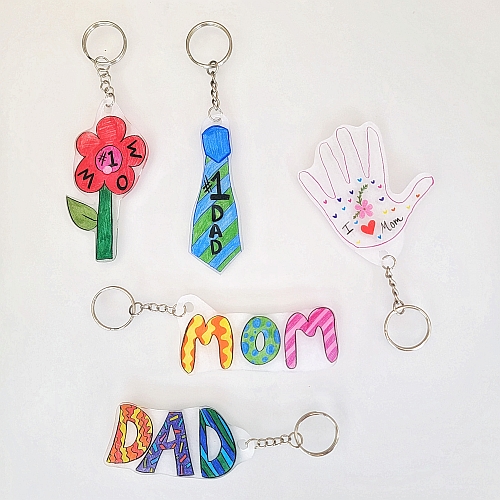
Have you ever used shrinky dinks? It is so much fun to watch they shrink as they warm up in the oven. Then, once cooked, they harden and make sturdy keychains!
Here is what you need: shrinky dink paper, colored pencils or permanent markers, scissors, hole punch, and keychain rings with chain. Note: if you want to use colored pencils, make sure to use shrinky dink paper with a sanded side.
Here are the steps:
- Draw on the shrinky dink paper.
- Cut out your design.
- Punch holes for where the keychain needs to go. Note the paper will shrink, as well as the holes, so you might want to place in several holes.
- Follow the directions on your shrinky dink paper and bake your shrinky dinks. Watch they shrink!
- Once cooled off, add on the keychain ring and chain, and give it to your mom or dad!
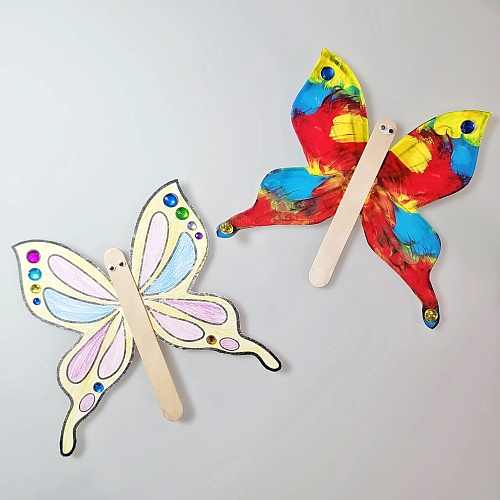
Decorate these simple butterflies and add a message on the back of the wing! You can decorate with anything you have at home such as markers, colored pencils, paint, gems, or more. You can also use paint and work on symmetry by folding the butterfly in half after you paint one side! Then, cut out your butterfly, glue a craft stick in the center, and add googly eyes.
To make it easy for you, download this free butterfly printout!
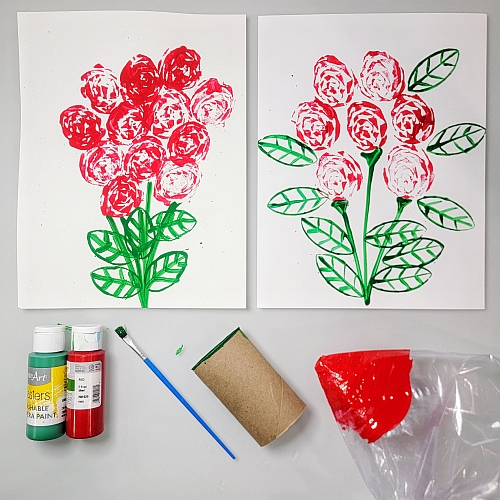
These flowers are unique and very easy to make! All you will need are a piece of cardstock, red paint in a paper plate or paint palette, and an inflated plastic bag. You can inflate the ziploc or regular plastic bag then close it shut with a rubber band or yarn. Then, gently push one of the corner of the bag into the red paint and then stamp that same corner on a piece of cardstock. This will make a flower! Then keep stamping until there is no more paint on the bag and repeat.
Once you have your flowers, pour green paint in the paper plate or paint palette. Then, use a craft roll and flatten it. It will give it an oval leaf shape. Finally, place the end of the craft roll into the green paint and stamp leaves onto the cardstock.
Finally, with a paintbrush, add stems to the flowers, and veins to the leaves!